
The Best Fluffy Pancakes recipe you will fall in love with. Full of tips and tricks to help you make the best pancakes.
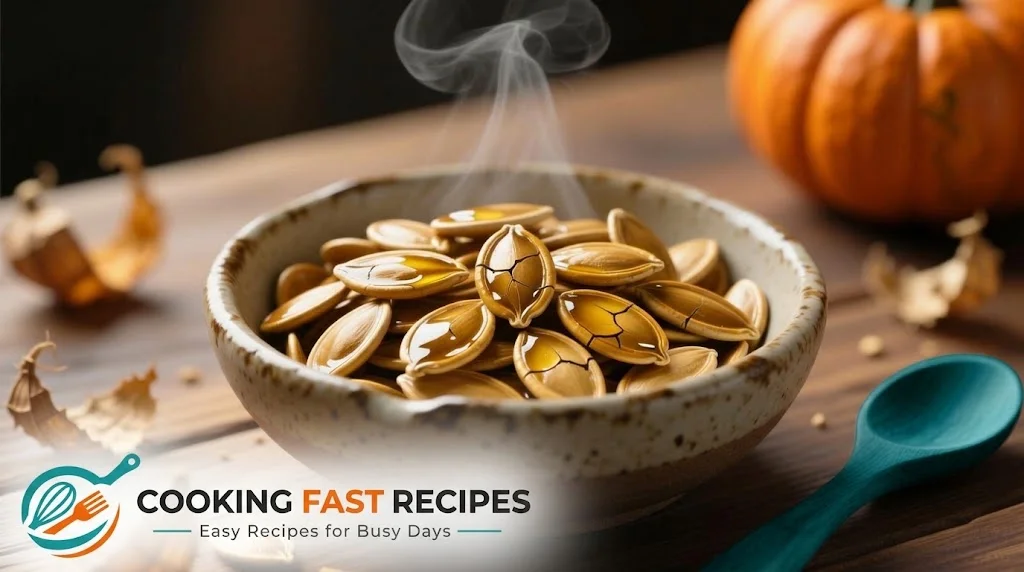
Making a roasted pumpkin seeds recipe at home is a simple way to turn the seeds from a fresh pumpkin into a crunchy, savory snack. With a little oil, salt, and your favorite seasonings, you can prepare golden pumpkin seeds in the oven without complicated ingredients or special equipment.
The secret to better roasted pumpkin seeds is not just the oven temperature. Removing the stringy pumpkin pulp, drying the seeds thoroughly, and spreading them in a single layer all help them roast more evenly. Once you understand these steps, you can keep the seasoning simple or experiment with garlic, smoky spices, or cinnamon sugar.
This recipe uses fresh pumpkin seeds, olive oil, and basic seasonings. It is a useful option for fall gatherings, an afternoon snack, or a crunchy topping for salads and soups.
Why Roast Pumpkin Seeds?
Fresh pumpkin seeds are easy to overlook when preparing a pumpkin, but they can be turned into a flavorful snack instead of being discarded. Roasting gives the outer shells a toasted texture and brings out a mild, nutty flavor.
Homemade roasted pumpkin seeds are also easy to customize. You control the amount of salt and oil, and you can prepare a small batch using ingredients already in your kitchen.
For the best texture, give the seeds enough room on the baking sheet and allow them to cool before judging their crispness. Seeds that feel slightly soft straight out of the oven may become firmer as they cool.
Ingredients for Roasted Pumpkin Seeds
Prep time: 15 minutes
Drying time: 30–60 minutes, depending on moisture
Cook time: 25–35 minutes
Total time: Approximately 1 hour 10 minutes to 1 hour 50 minutes
Yield: About 4 servings
Oven temperature: 300°F (150°C)
Ingredients
- 2 cups fresh pumpkin seeds, removed from a pumpkin
- 1 tablespoon olive oil
- 1/2 teaspoon fine salt, or to taste
- 1/4 teaspoon black pepper, optional
These measurements are a practical starting point for a batch of approximately 2 cups of cleaned seeds. Seed size, moisture, and the amount of pulp removed can affect the final quantity and cooking time.
Equipment: A colander, clean kitchen towel, mixing bowl, rimmed baking sheet, and spatula.
How to Clean and Dry Pumpkin Seeds
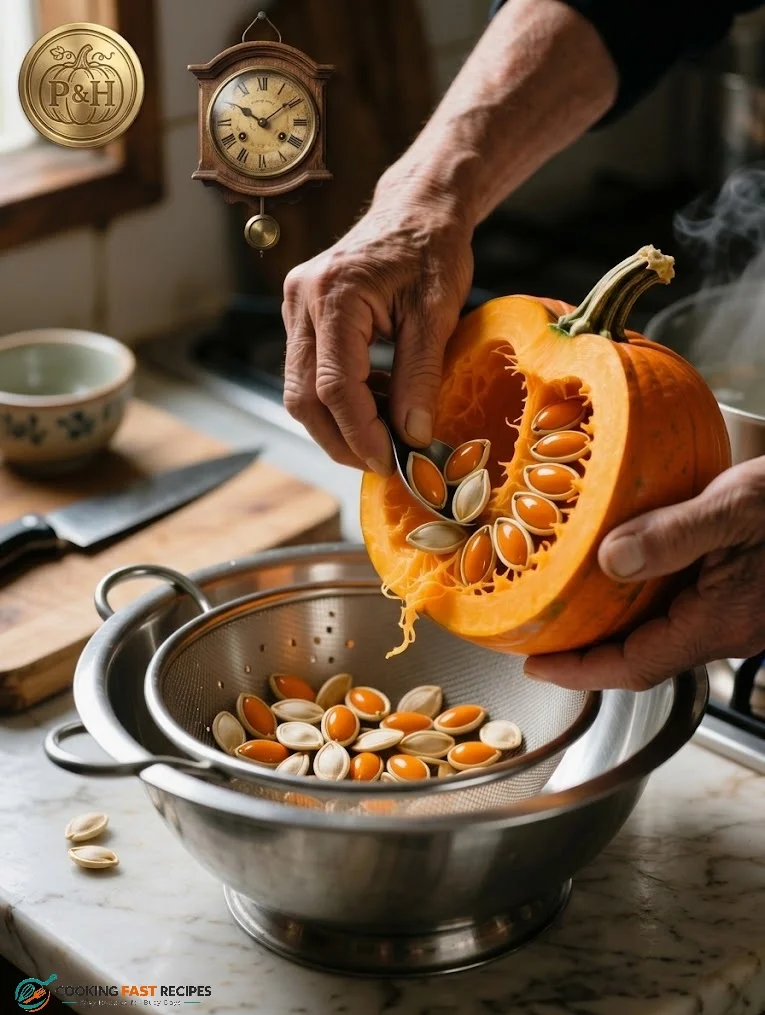
Cleaning and drying are two of the most important steps when making crispy roasted pumpkin seeds. Wet seeds can steam before they brown, while leftover pumpkin fibers can stick to the tray and darken during roasting.
1. Separate the seeds from the pumpkin
Scoop the seeds and stringy pulp into a large bowl. Use your fingers to separate the seeds from the larger pieces of pumpkin flesh.
If the fibers are difficult to remove, place the mixture in a bowl of water and gently work the seeds free. Drain them in a colander and remove any remaining strands you can easily pick off.
2. Rinse thoroughly
Rinse the seeds under cool running water, moving them around with your fingers to loosen any remaining pulp. Drain them well before moving to the drying step.
3. Dry the seeds completely
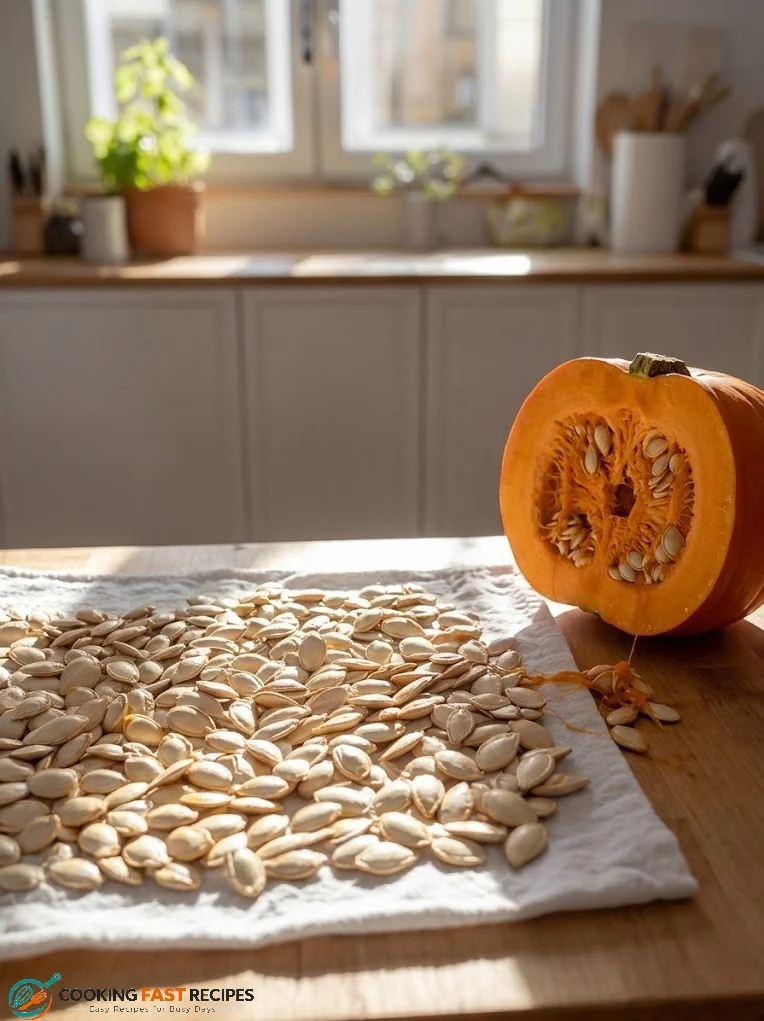
Spread the cleaned seeds on a clean kitchen towel or a layer of paper towels. Pat them dry, then leave them spread out for another 30–60 minutes if they still feel damp.
The drying time will depend on how much water remains after rinsing. The seeds should feel dry on the surface rather than wet or slippery. Read the University of Minnesota Extension guidance .
For a more predictable result, avoid adding the oil while the seeds are still visibly wet. Drying them thoroughly helps reduce steaming and encourages more even browning.
How to Roast Pumpkin Seeds in the Oven
Step 1: Preheat the oven
Preheat your oven to 300°F (150°C). Line a rimmed baking sheet with parchment paper if desired, making sure the paper is suitable for the temperature.
A moderate oven temperature gives the seeds time to dry and toast without browning too quickly. Actual cooking time will vary with seed size, moisture, and oven performance.
Step 2: Coat the seeds with oil
Place the dry pumpkin seeds in a mixing bowl. Add 1 tablespoon of olive oil, the salt, and black pepper if using.
Stir until the seeds are lightly and evenly coated. They should have a thin sheen of oil rather than sitting in a pool of it.
If the seeds look heavily coated, avoid adding more oil. Too much can make the finished snack feel greasy.
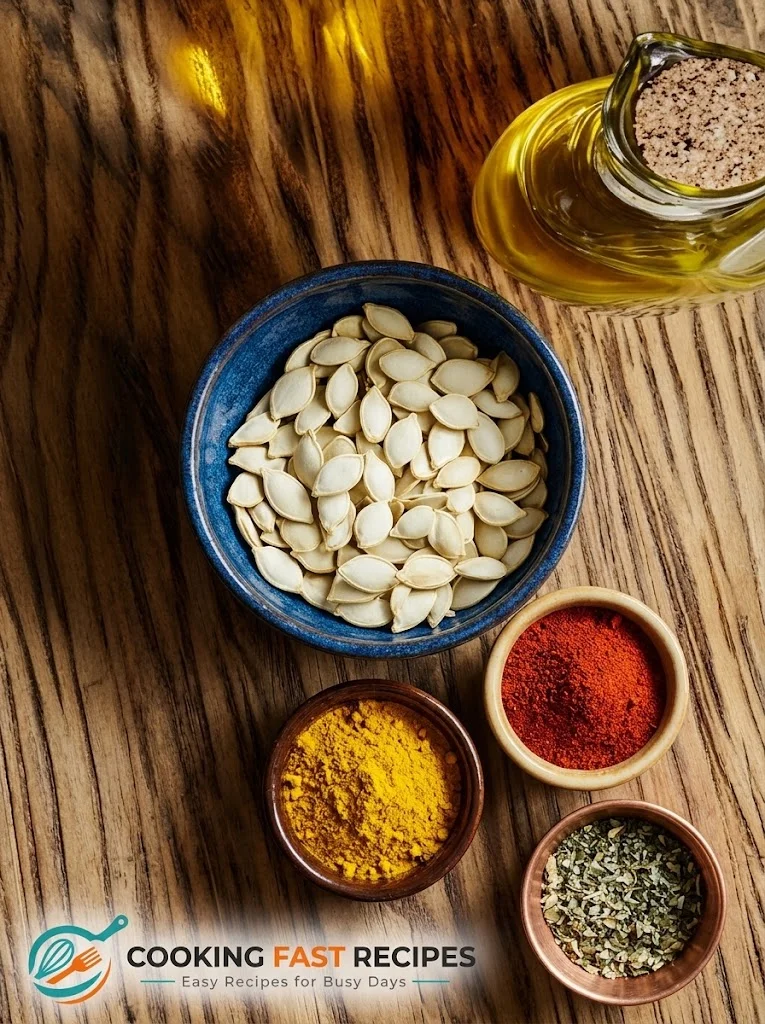
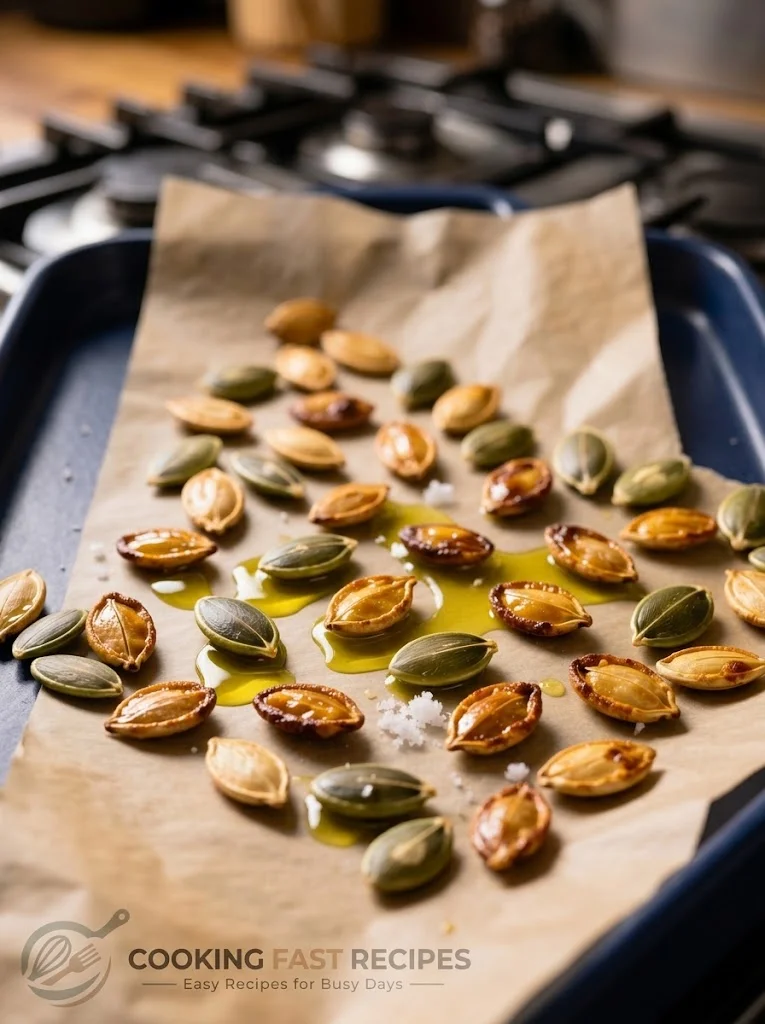
Step 3: Arrange in a single layer
Transfer the seeds to the prepared baking sheet. Spread them into a single layer, leaving a little space between them where possible.
If the seeds are crowded into a thick pile, they are more likely to steam and cook unevenly. Use a second baking sheet if you have a particularly large batch.
Step 4: Roast until golden
Place the baking sheet in the oven and roast for approximately 25–35 minutes, stirring every 10 minutes to promote even browning.
Begin checking the seeds toward the earlier end of the cooking range. Smaller seeds may finish sooner, while larger or slightly damp seeds may need additional time.
Look for these signs:
- The seeds have developed a light golden color.
- They smell toasted and nutty, not burnt.
- The surface looks dry rather than wet or glossy.
- The seeds feel firmer after cooling.
Do not rely on color alone. Pumpkin seeds can darken quickly near the end of cooking, so check them frequently during the final few minutes.
Step 5: Cool before serving
Remove the baking sheet from the oven and let the seeds cool in a single layer. They will continue to firm up as they lose heat.
Taste one after it has cooled enough to handle. If the center is still noticeably soft, return the tray to the oven for a few additional minutes, watching carefully.
Serve the seeds once they have cooled to your preferred texture.
Three Easy Pumpkin Seed Seasoning Ideas
The basic recipe works well with salt and pepper, but you can change the flavor without changing the roasting method. The following options are seasoning variations for the same batch, not separate recipes.
1. Garlic and Herb Pumpkin Seeds
For a savory variation, add 1/4 teaspoon dried oregano and 1/4 teaspoon onion powder to the oil-coated seeds. Use garlic powder sparingly if you want a stronger garlic flavor.
Mix the seasonings thoroughly so they distribute evenly. Avoid adding too much garlic powder at the beginning, because fine seasonings can darken and develop a bitter flavor during roasting.
2. Smoky and Spicy Pumpkin Seeds
For a little heat, add 1/4 teaspoon smoked paprika and a small pinch of cayenne pepper before roasting.
Adjust the cayenne to suit your preference. A small amount adds warmth without overwhelming the natural flavor of the seeds.
This version pairs well with sandwiches, soups, or other savory snacks.
3. Cinnamon Sugar Pumpkin Seeds
For a sweeter variation, combine 1 teaspoon granulated sugar with 1/4 teaspoon ground cinnamon. Reduce the salt or leave it out if you prefer a dessert-style snack.
Because sugar can darken faster than the seeds themselves, watch the tray carefully. For better control, roast the seeds until nearly done, then add the cinnamon-sugar mixture and return them to the oven briefly, checking frequently to prevent scorching.
Allow the finished seeds to cool before serving.
Troubleshooting: How to Make Crispy Roasted Pumpkin Seeds
Why are my pumpkin seeds not crispy?
Excess moisture is a common reason. If the seeds were still wet when they went into the oven, they may need more time to dry and toast.
Return them to the oven in short intervals, checking frequently. Let them cool before testing again, since the final texture is easier to judge at room temperature.
Why are my pumpkin seeds burning?
The oven may be running hotter than its setting, or the seeds may be small enough to finish earlier than expected. Check the seeds more frequently near the end of roasting and stir them regularly.
If the seeds are browning too quickly, lower the oven temperature slightly and continue cooking until their texture improves.
Should pumpkin seeds be boiled before roasting?
Boiling is optional for this recipe. Some methods briefly boil cleaned seeds in salted water before drying and roasting them. That approach can help season the seeds, but it adds another step and requires thorough drying afterward.
For this straightforward version, rinsing and drying the seeds carefully is sufficient to proceed to the oven.
Can I roast pumpkin seeds without oil?
Yes, but the texture and browning may differ. Oil helps seasonings cling to the seeds and encourages a toasted finish. If you omit it, spread the seeds in a single layer and monitor them closely because the cooking time may change.
How to Store Roasted Pumpkin Seeds
Let the seeds cool completely before transferring them to a clean, dry, airtight container. Trapping residual warmth can create moisture inside the container and soften the seeds.
Keep the container in a cool, dry place and check the seeds for changes in smell, flavor, or texture before eating. Their crispness can gradually decline as they absorb moisture from the air.
For longer storage, refrigerating or freezing the seeds is an option. Seal them well to protect their flavor, and allow refrigerated or frozen seeds to return to a suitable serving temperature before opening the container fully, which helps reduce condensation.
If the seeds were seasoned with ingredients that require refrigeration, follow the storage guidance for those ingredients.
What to Serve with Roasted Pumpkin Seeds
Roasted pumpkin seeds are easy to serve on their own, but they can also add texture to other foods. Sprinkle a small handful over a bowl of soup, toss them into a salad just before serving, or use them as a crunchy topping for oatmeal.
For a party spread, pair them with other finger foods such as Pigs in a Blanket when that recipe is available on your site. The combination offers guests both a crunchy snack and a warm, savory bite.
Final Tips for Better Homemade Pumpkin Seeds
A good batch of roasted pumpkin seeds starts with careful preparation rather than a complicated seasoning blend. Remove as much stringy pulp as practical, dry the seeds well, use a modest amount of oil, and avoid overcrowding the baking sheet.
Keep an eye on the seeds as they approach the end of their cooking time, and allow them to cool before deciding whether they are crisp enough. With these simple habits, you can turn fresh pumpkin seeds into a versatile homemade snack and adjust the flavor to suit your next batch.